


Long before the development of synthetic waterproof fabrics, outdoor clothing and gear was often treated with natural weatherproofing substances. Outdoorsmen of the 20th century started to perfect the method of waxing their garments, providing them with an extremely waterproof and windproof material.
This traditional process is just as effective on natural fabrics today as it was then. If you’re looking to weatherproof your canvas pack while also providing it with a unique and timeless look, you’ve come to the right place.

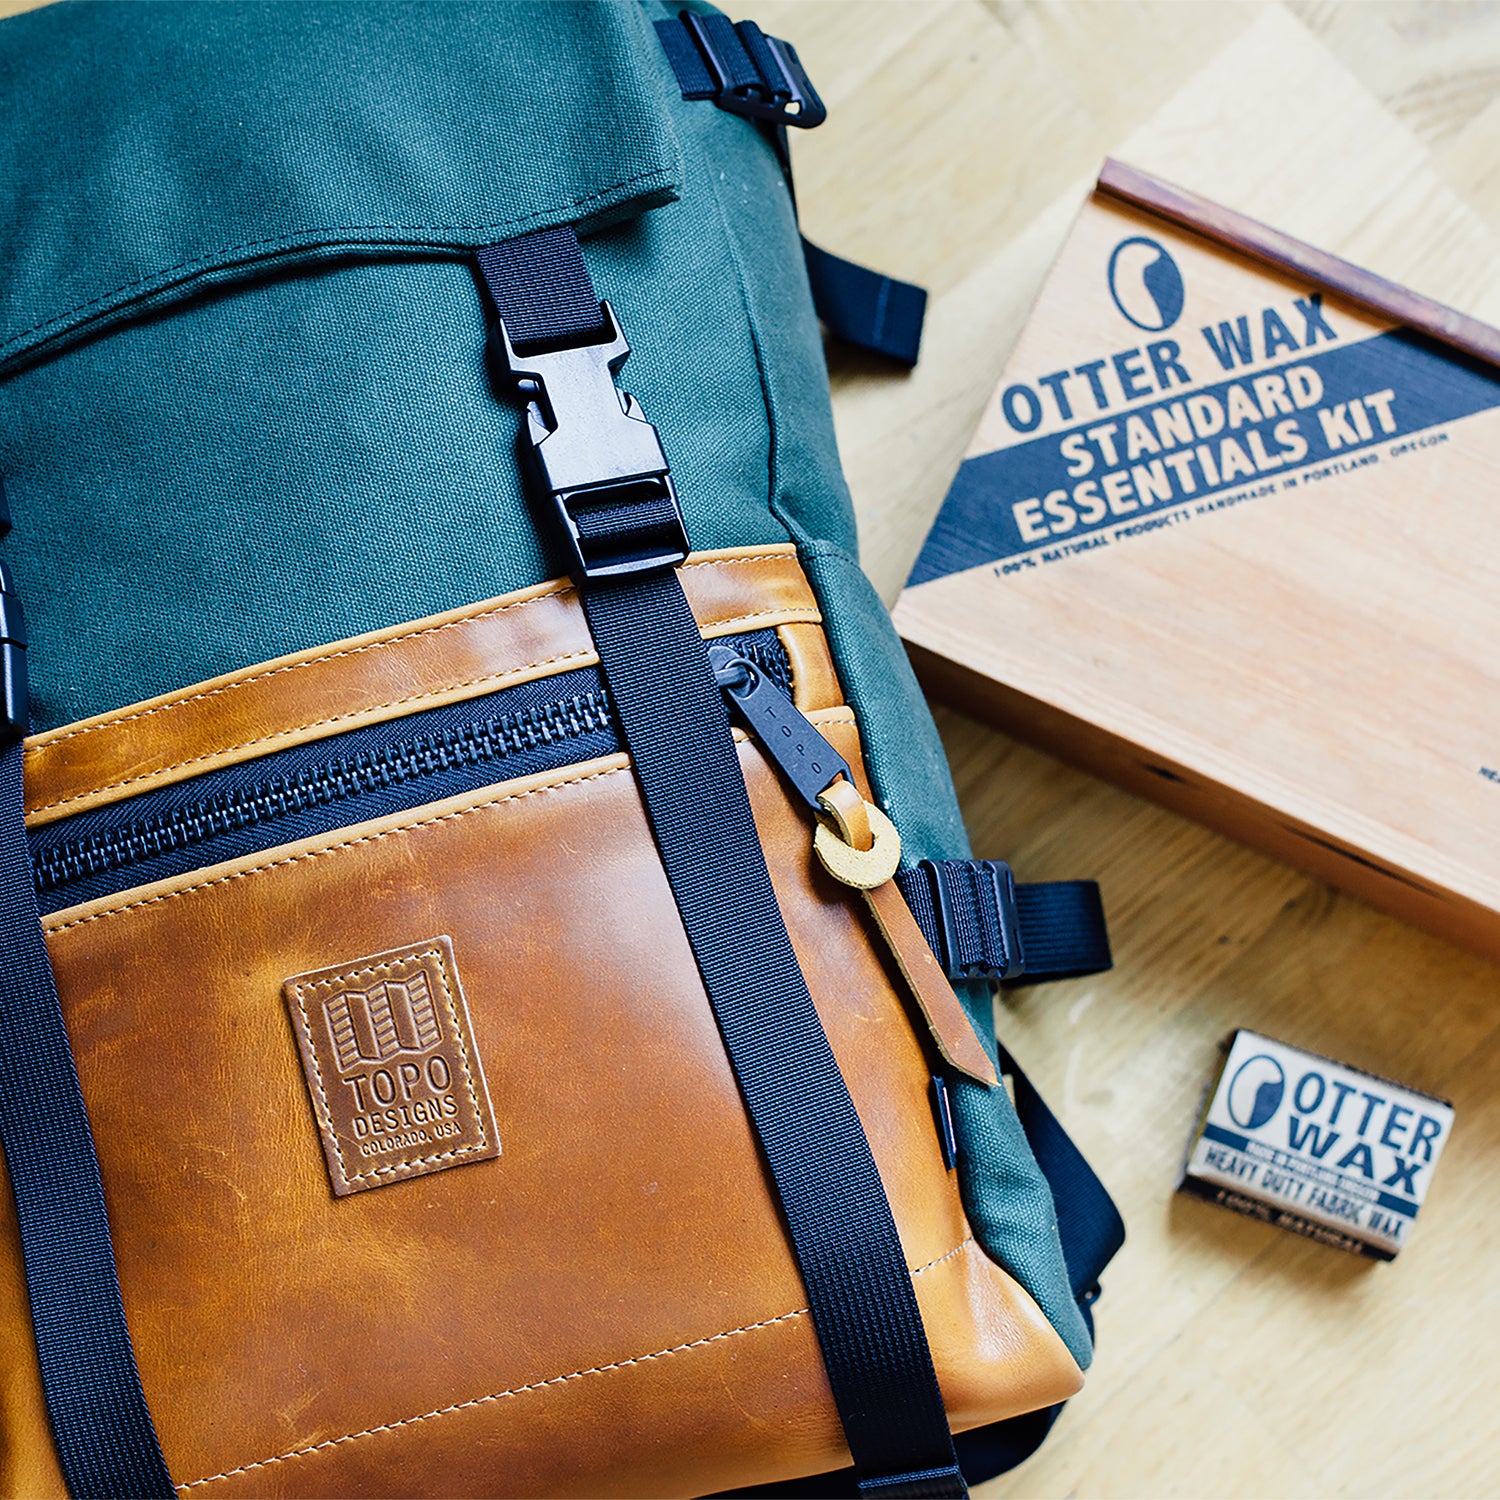
What you need:
- Fabric Wax (We love Otter Wax.)
- Any cotton canvas product.
- Blow dryer or heat gun.
- Good ole elbow grease!
- If your pack also has leather:
- Leather conditioner (make sure it’s meant for leather so it can properly waterproof the leather and keep it from drying out and cracking.)
- Clean cloth
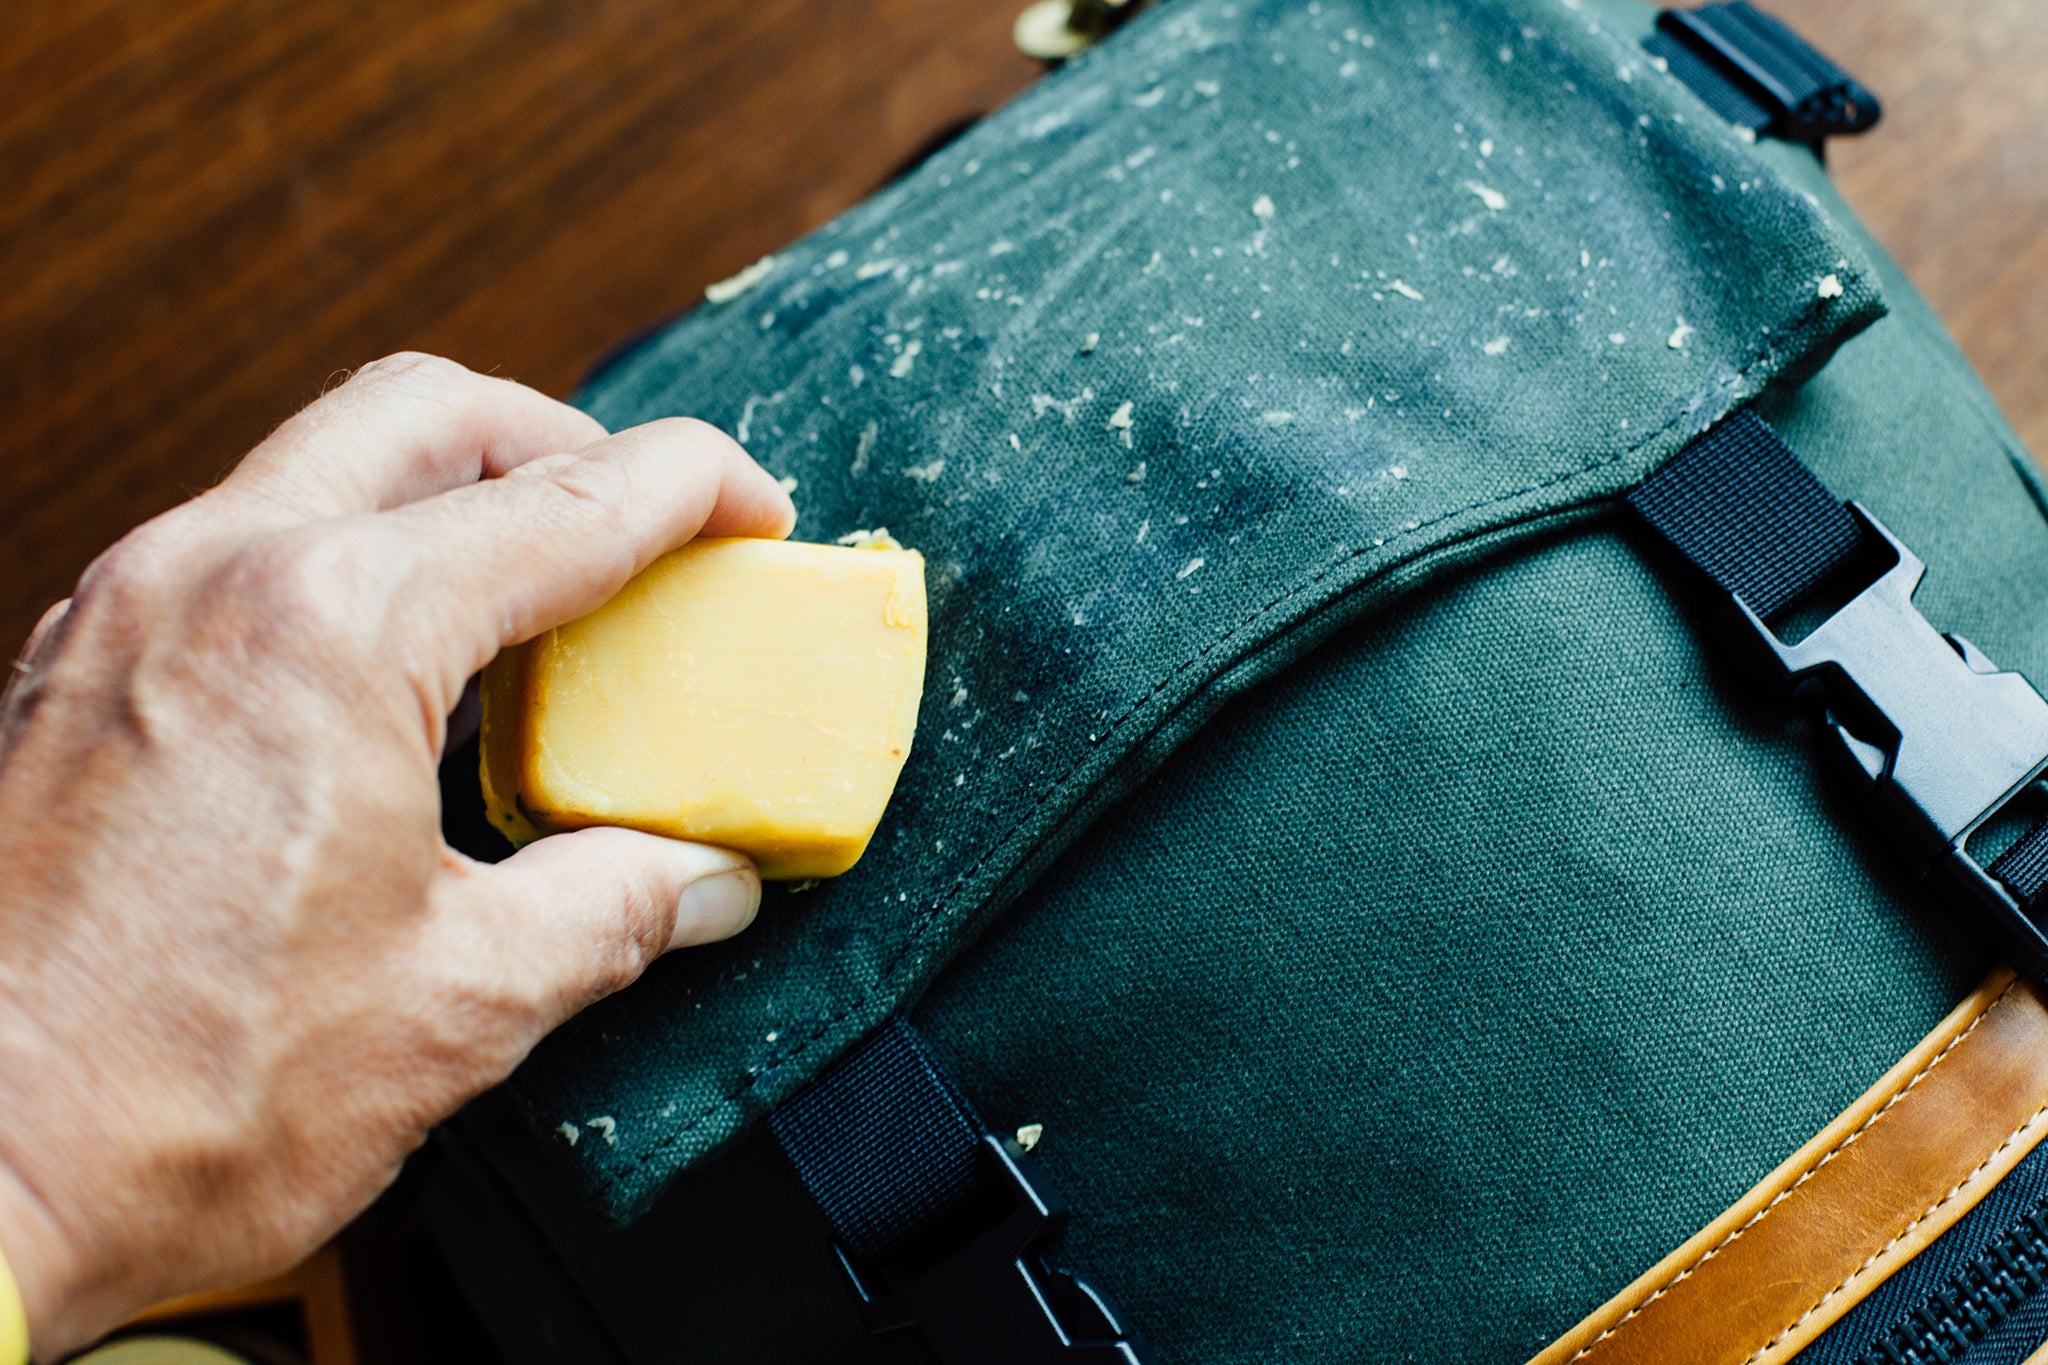
Step One: Wax the large sections of canvas
Stuff out the bag with clothes to make the application process as easy as possible. Start by applying the wax at the top of your bag and work your way down. Look to apply even pressure throughout, as the wax will slightly alter the color and having a uniform coat of wax throughout will create a uniform color once it’s dried. Some fabrics require more pressure and wax than others. (We’ve found that the Klettersack likes to take on a bit more wax and pressure than other bags do.)

Step Two: Even out the wax
Look the pack over to see how it’s turning out. Everything look a bit uneven? Try applying a bit more pressure and friction to really work in the wax.
The photo above is what the pack should look like. You can see that there is a uniform appearance and the wax has properly penetrated the fibers.

Step Three: Give the corners and seams extra attention
Focus on the corners and seams, and work around the lash tabs and straps. This is where water really has the opportunity to get in. Apply a bit more pressure and wax to the seams throughout the bag.
Step Four: Even out the wax one last time
After applying the first full layer of wax, you might notice a few spots where the wax wasn't evenly applied. Use your fingers to smooth out the wax and work it into the fabric. Do this until you have achieved an even look.

Step Five: Seal in the wax with heat
Now take your blow dryer or heat gun and run it evenly over the bag. You should see the wax melt quickly into the fabric. Continue this process, thoroughly covering the entire bag.
Step Six: Curing
Allow the bag to cure for 48-72 hours. This will give the fibers a chance to absorb the wax. A warm dry place is ideal for achieving the best results.


Step Seven: Treat the leather if the pack has any
Take your heat gun or blow dryer and preheat the leather. This will help it accept the leather treatment. Apply the conditioner to the heated leather with a cloth. Give the conditioner a few minutes to absorb, then wipe any excess from the surface.

Step Eight: Enjoy!
Get out there and use it. Rain or shine, this will be your go-to pack around town or on the trail. Come back to this guide when it’s time to re-apply and touch up the wax or leather conditioner.